I don’t know about you, but I’ve always wondered how the heck you make those cute tiny cake pops. It was a mystery to me until I found the perfect and easy recipe. I decided my first attempt at this would be the night before Valentine’s Day for my coworkers and my husbands as well. I’m not sure this was the wisest decision considering I started at about 8pm (had errands to run before I could officially start) and wasn’t finished until about 12am. But it was worth it! Overall these were fun to make (would’ve been more fun if I wasn’t pressed for time) and super easy!
Here’s the “How To” so you can stun friends and family with your new found baking talent!
First you’ll need to choose your cake batter and your choice of icing. I went with Red Velvet with Cream Cheese frosting. I wanted to do a red color to make it festive for Valentines Day, and Cream Cheese frosting is a great compliment to the flavor.

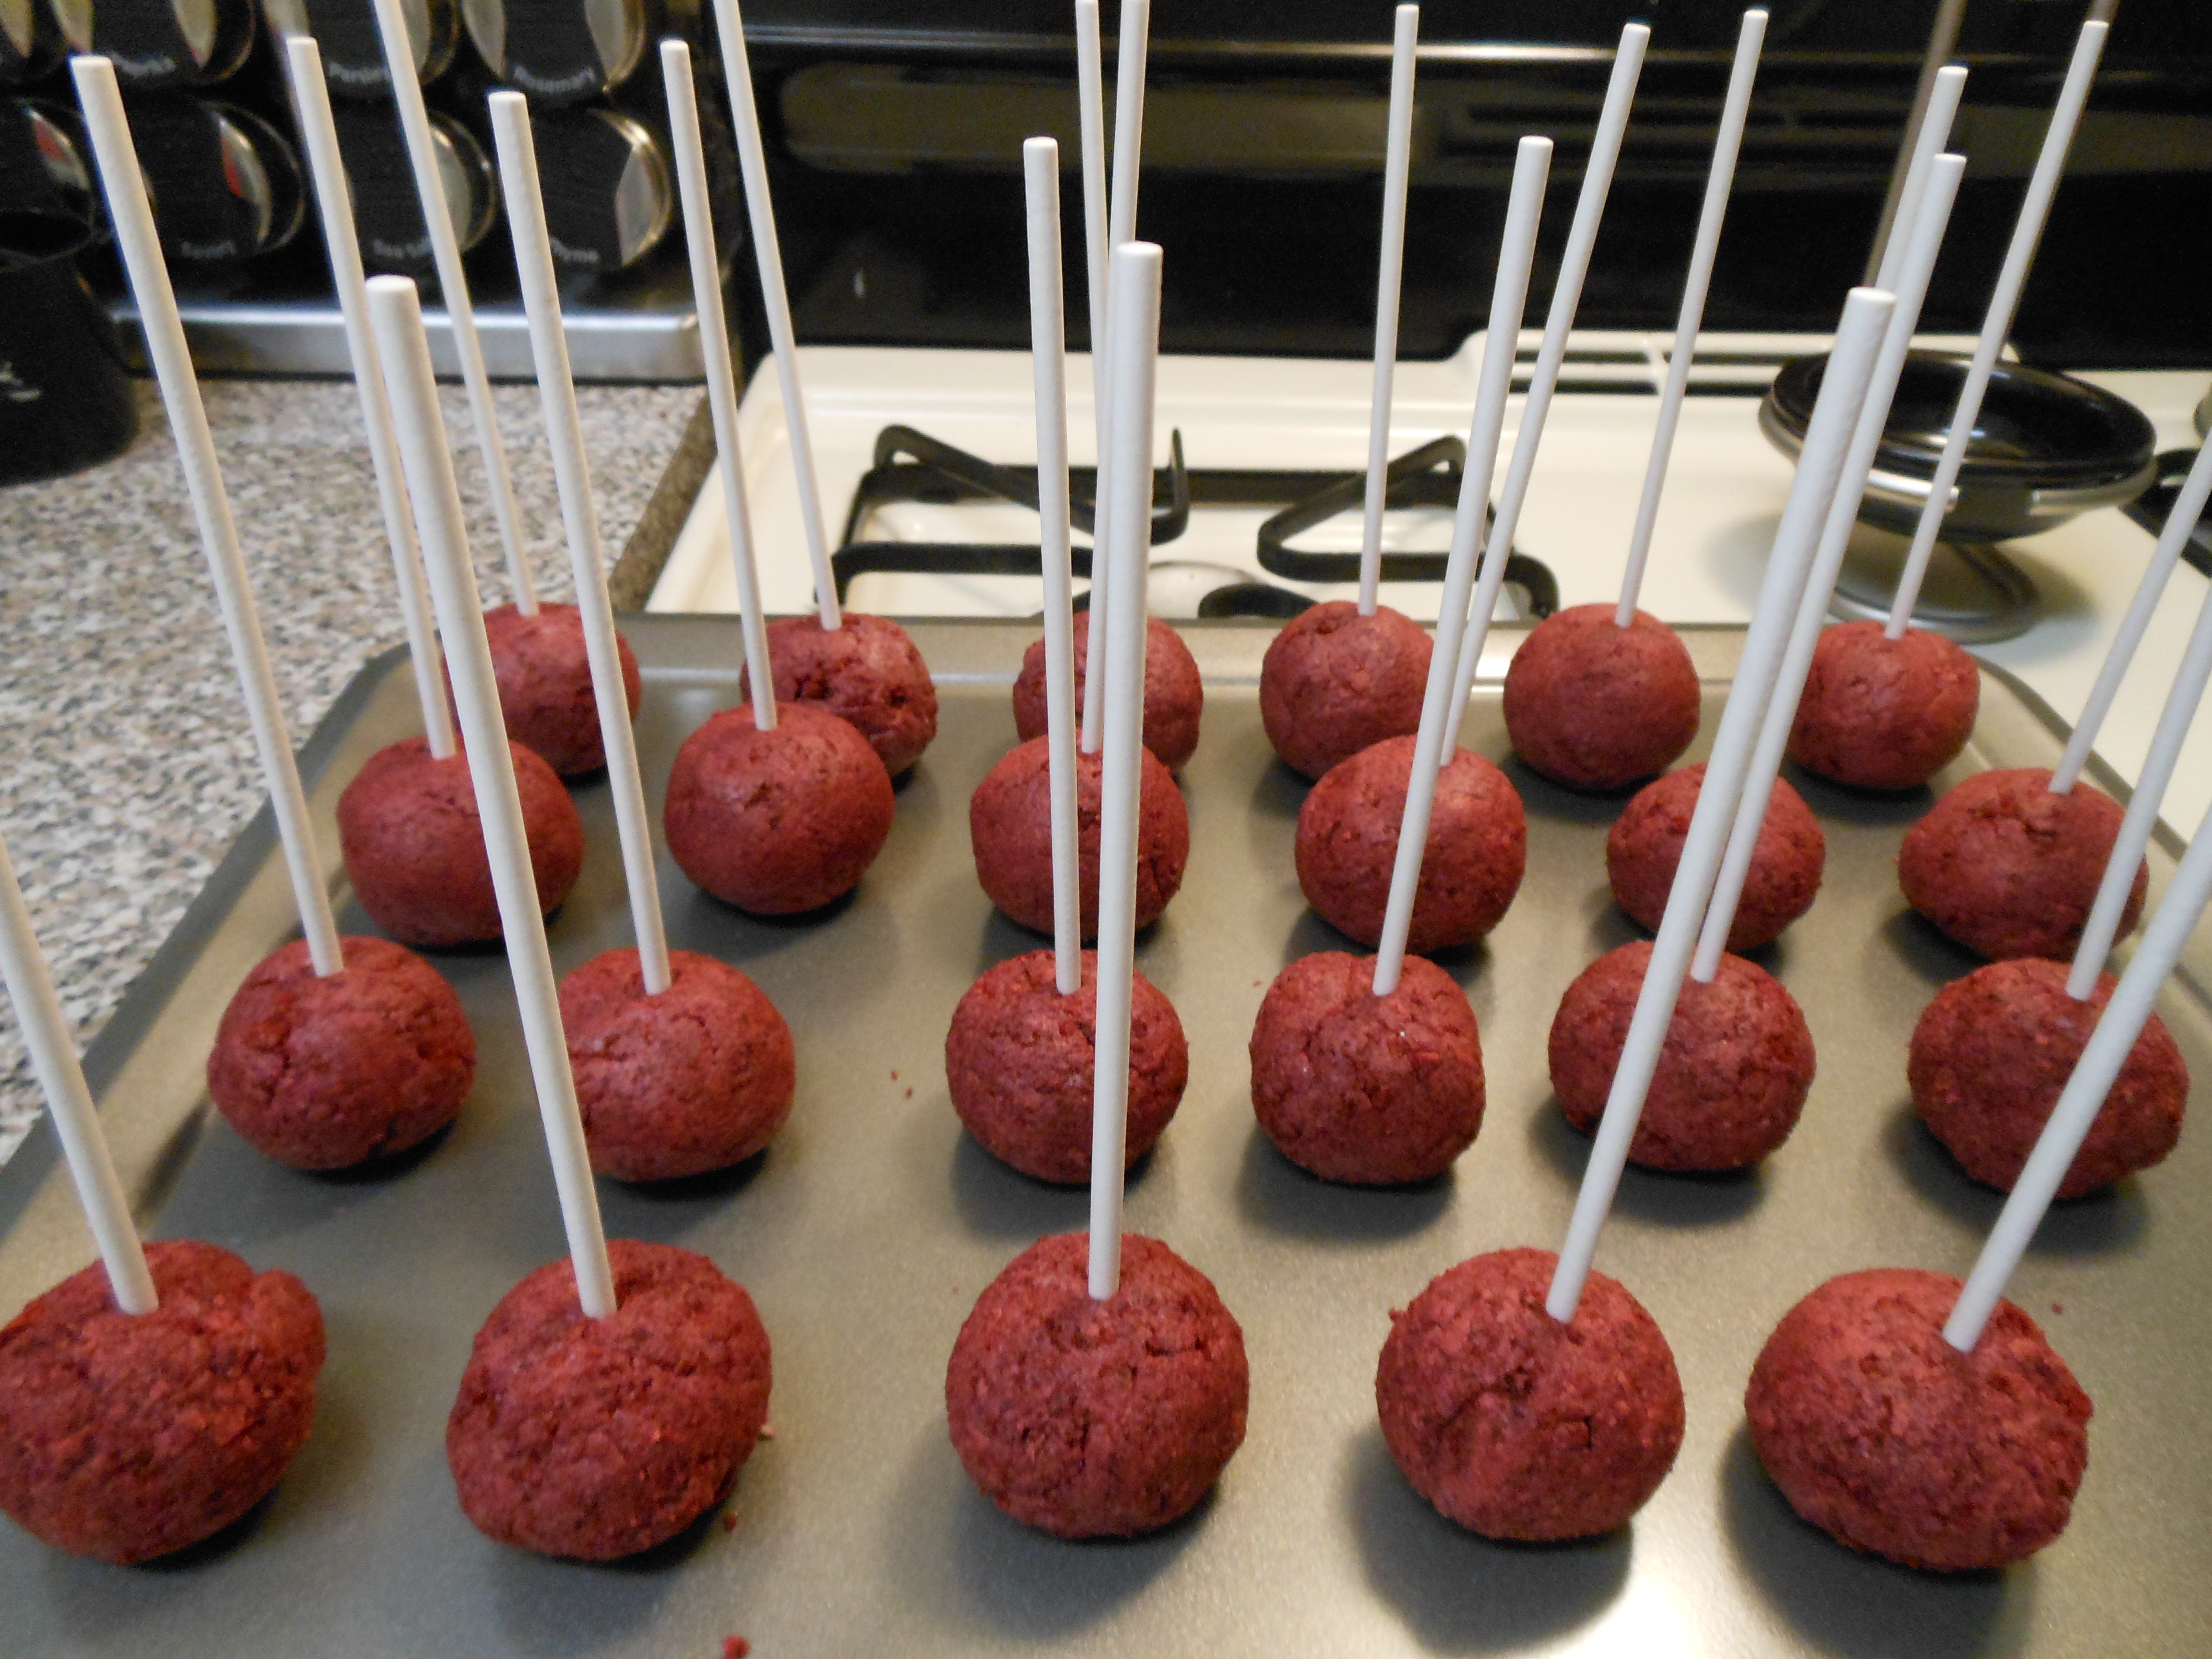
Prepare cake mix as instructed on the box and bake. Let cake cool completely when done. Since I was pressed for time, I stuck mine in the freezer until it was cool. Next, crumble cake into large mixing bowl. Then mix entire frosting tub into cake crumble. Stick bowl in the refrigerator for 15 minutes. I actually stuck mine in the freezer for about 8 minutes. Roll mix into balls, smaller than golf ball size and put on a cookie sheet or pan then put pop sticks in the middle. If they’re too big, they may fall off the stick later. The recipe I found says to stick the pops in the refrigerator for three hours (not gonna happen…). I stuck mine in the freezer for an hour and that seemed to be just fine.
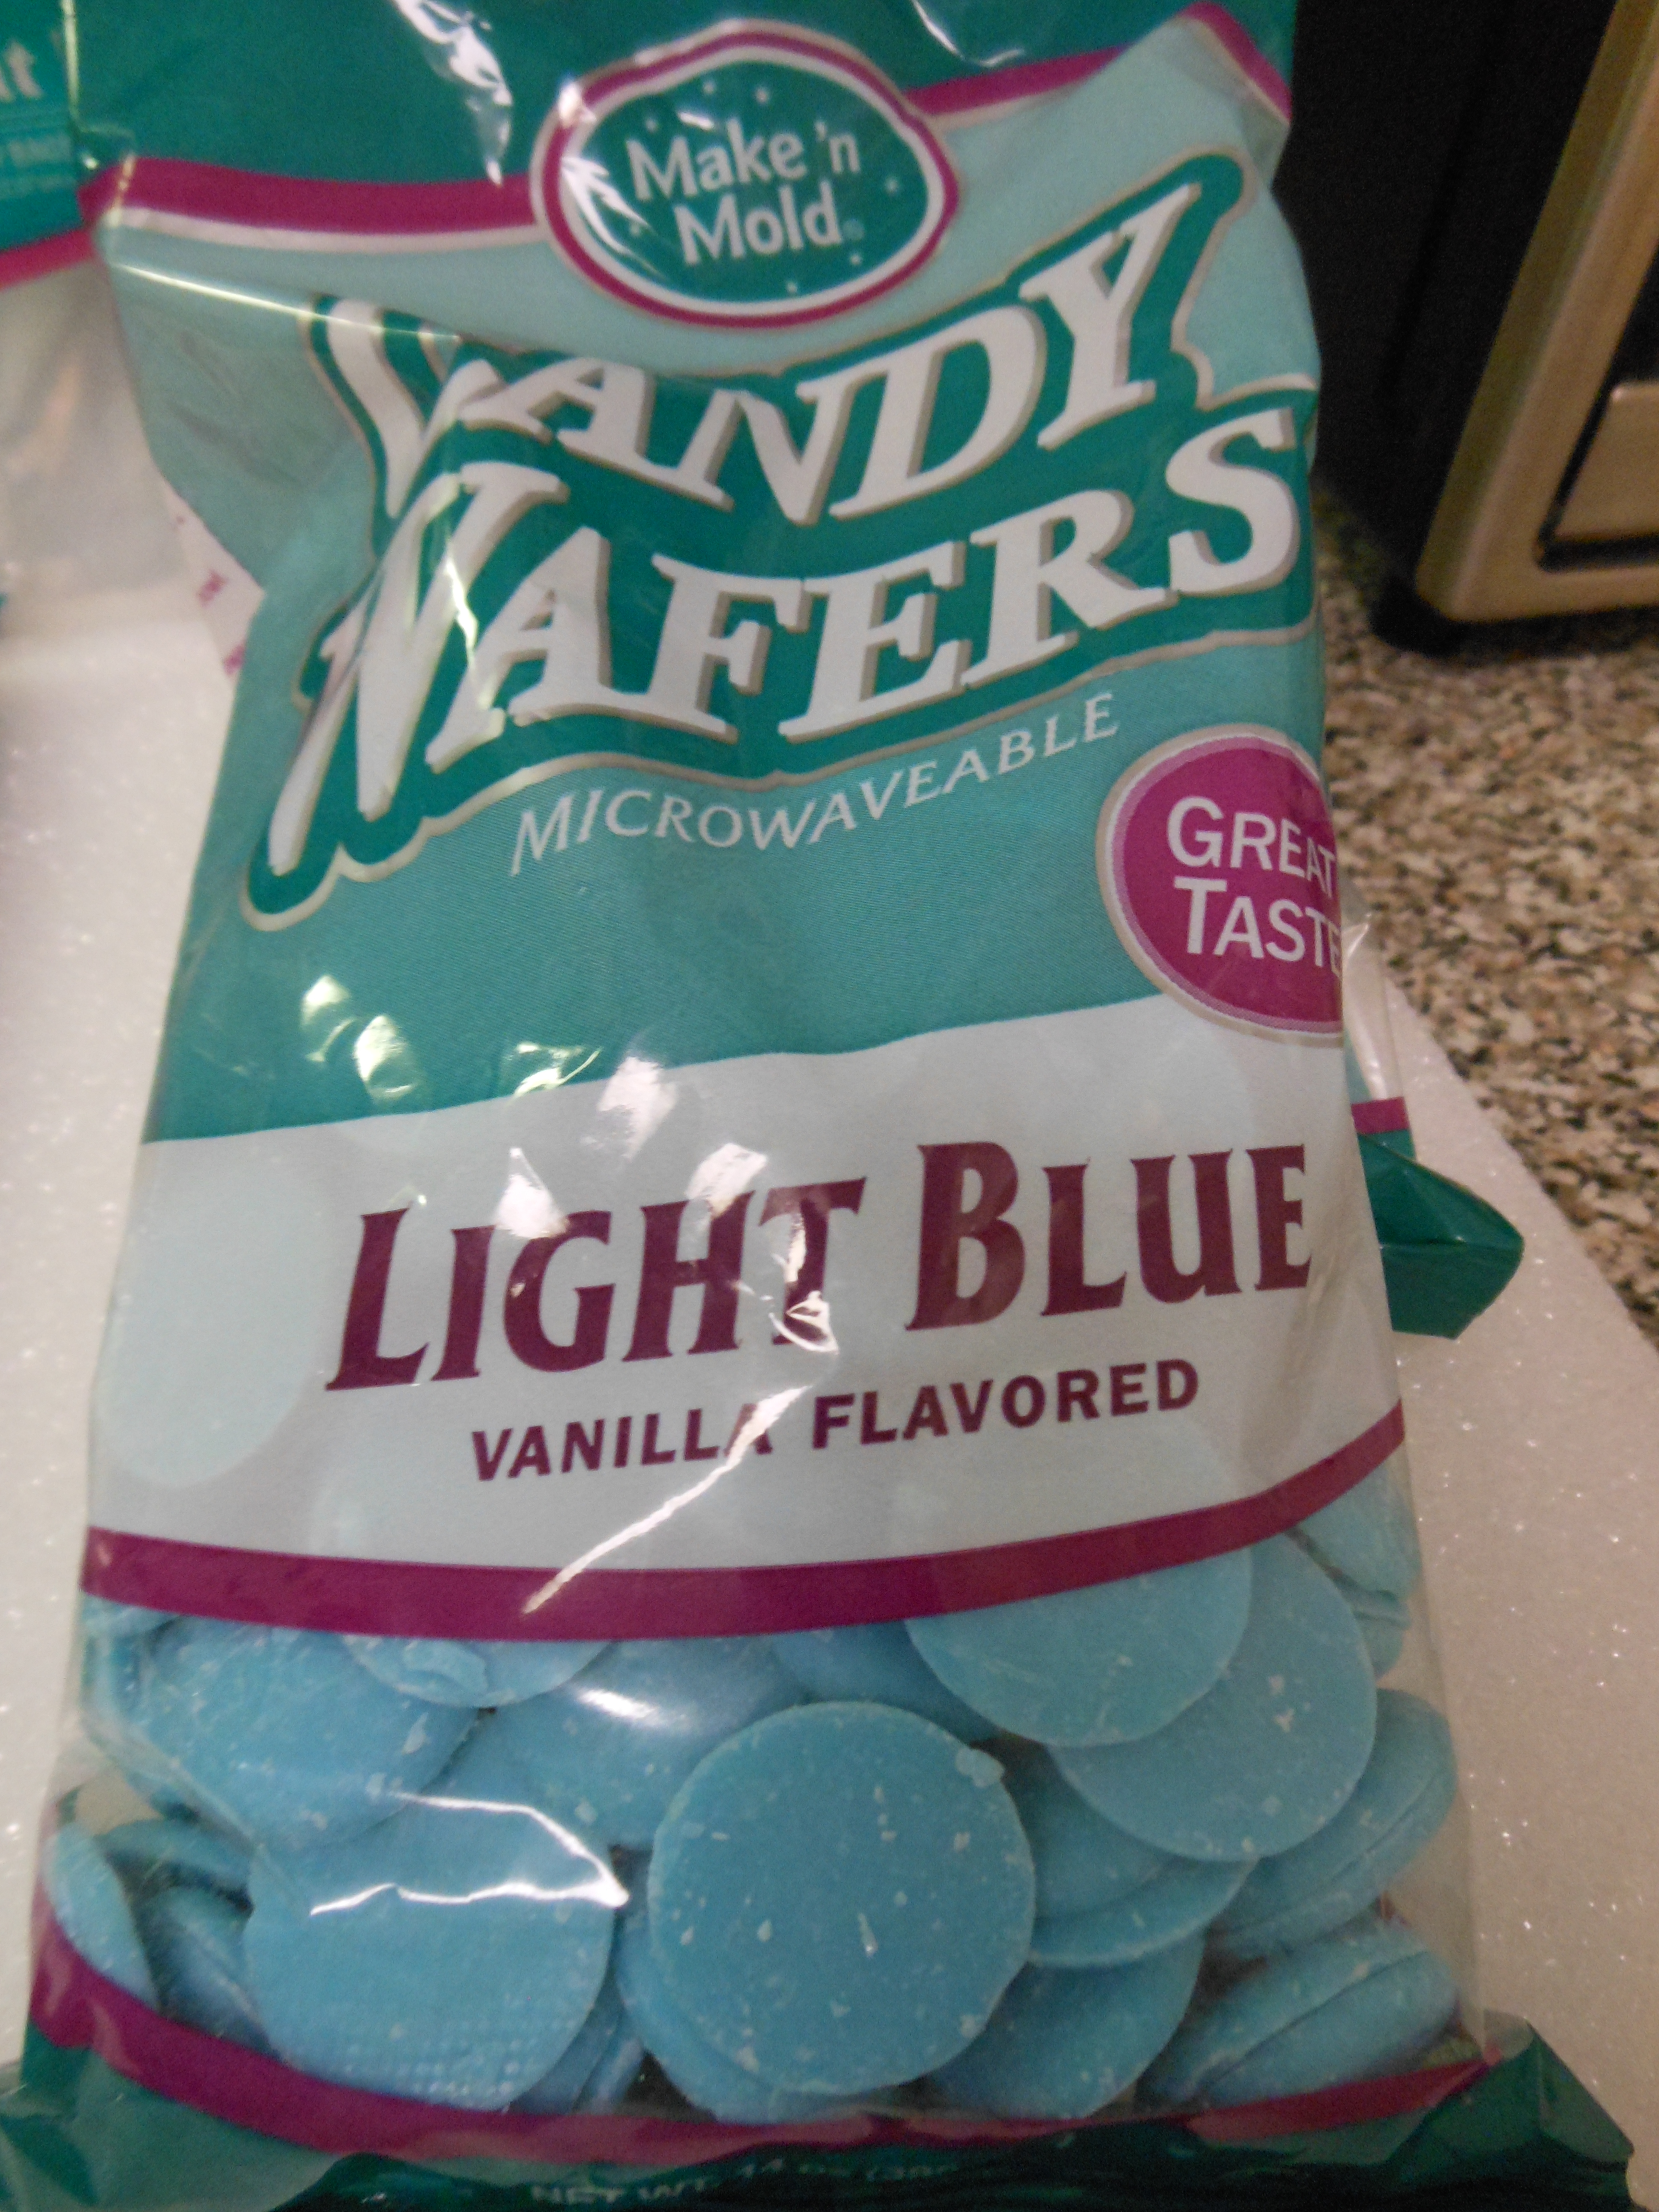
Next, melt your chosen colored candy pieces according to the directions. I originally was going to get the white candy and find some blue/green dye and attempt to make a Tiffany Blue, but decided that my supplies were getting a little costly. So I settled for baby blue candy that was just as fine.
Dip and twirl cake pops in melted candy mix. Spoon mix if needed around the base of the pop. Be careful because mix will continue to drip. Keep twirling until it’s done dripping (that’s what I did so it wasn’t running down the stick). Have your decorative sprinkles ready in a bowl and lightly dip top of cake pop into the sprinkles. Stand pops in a foam board so they can dry.
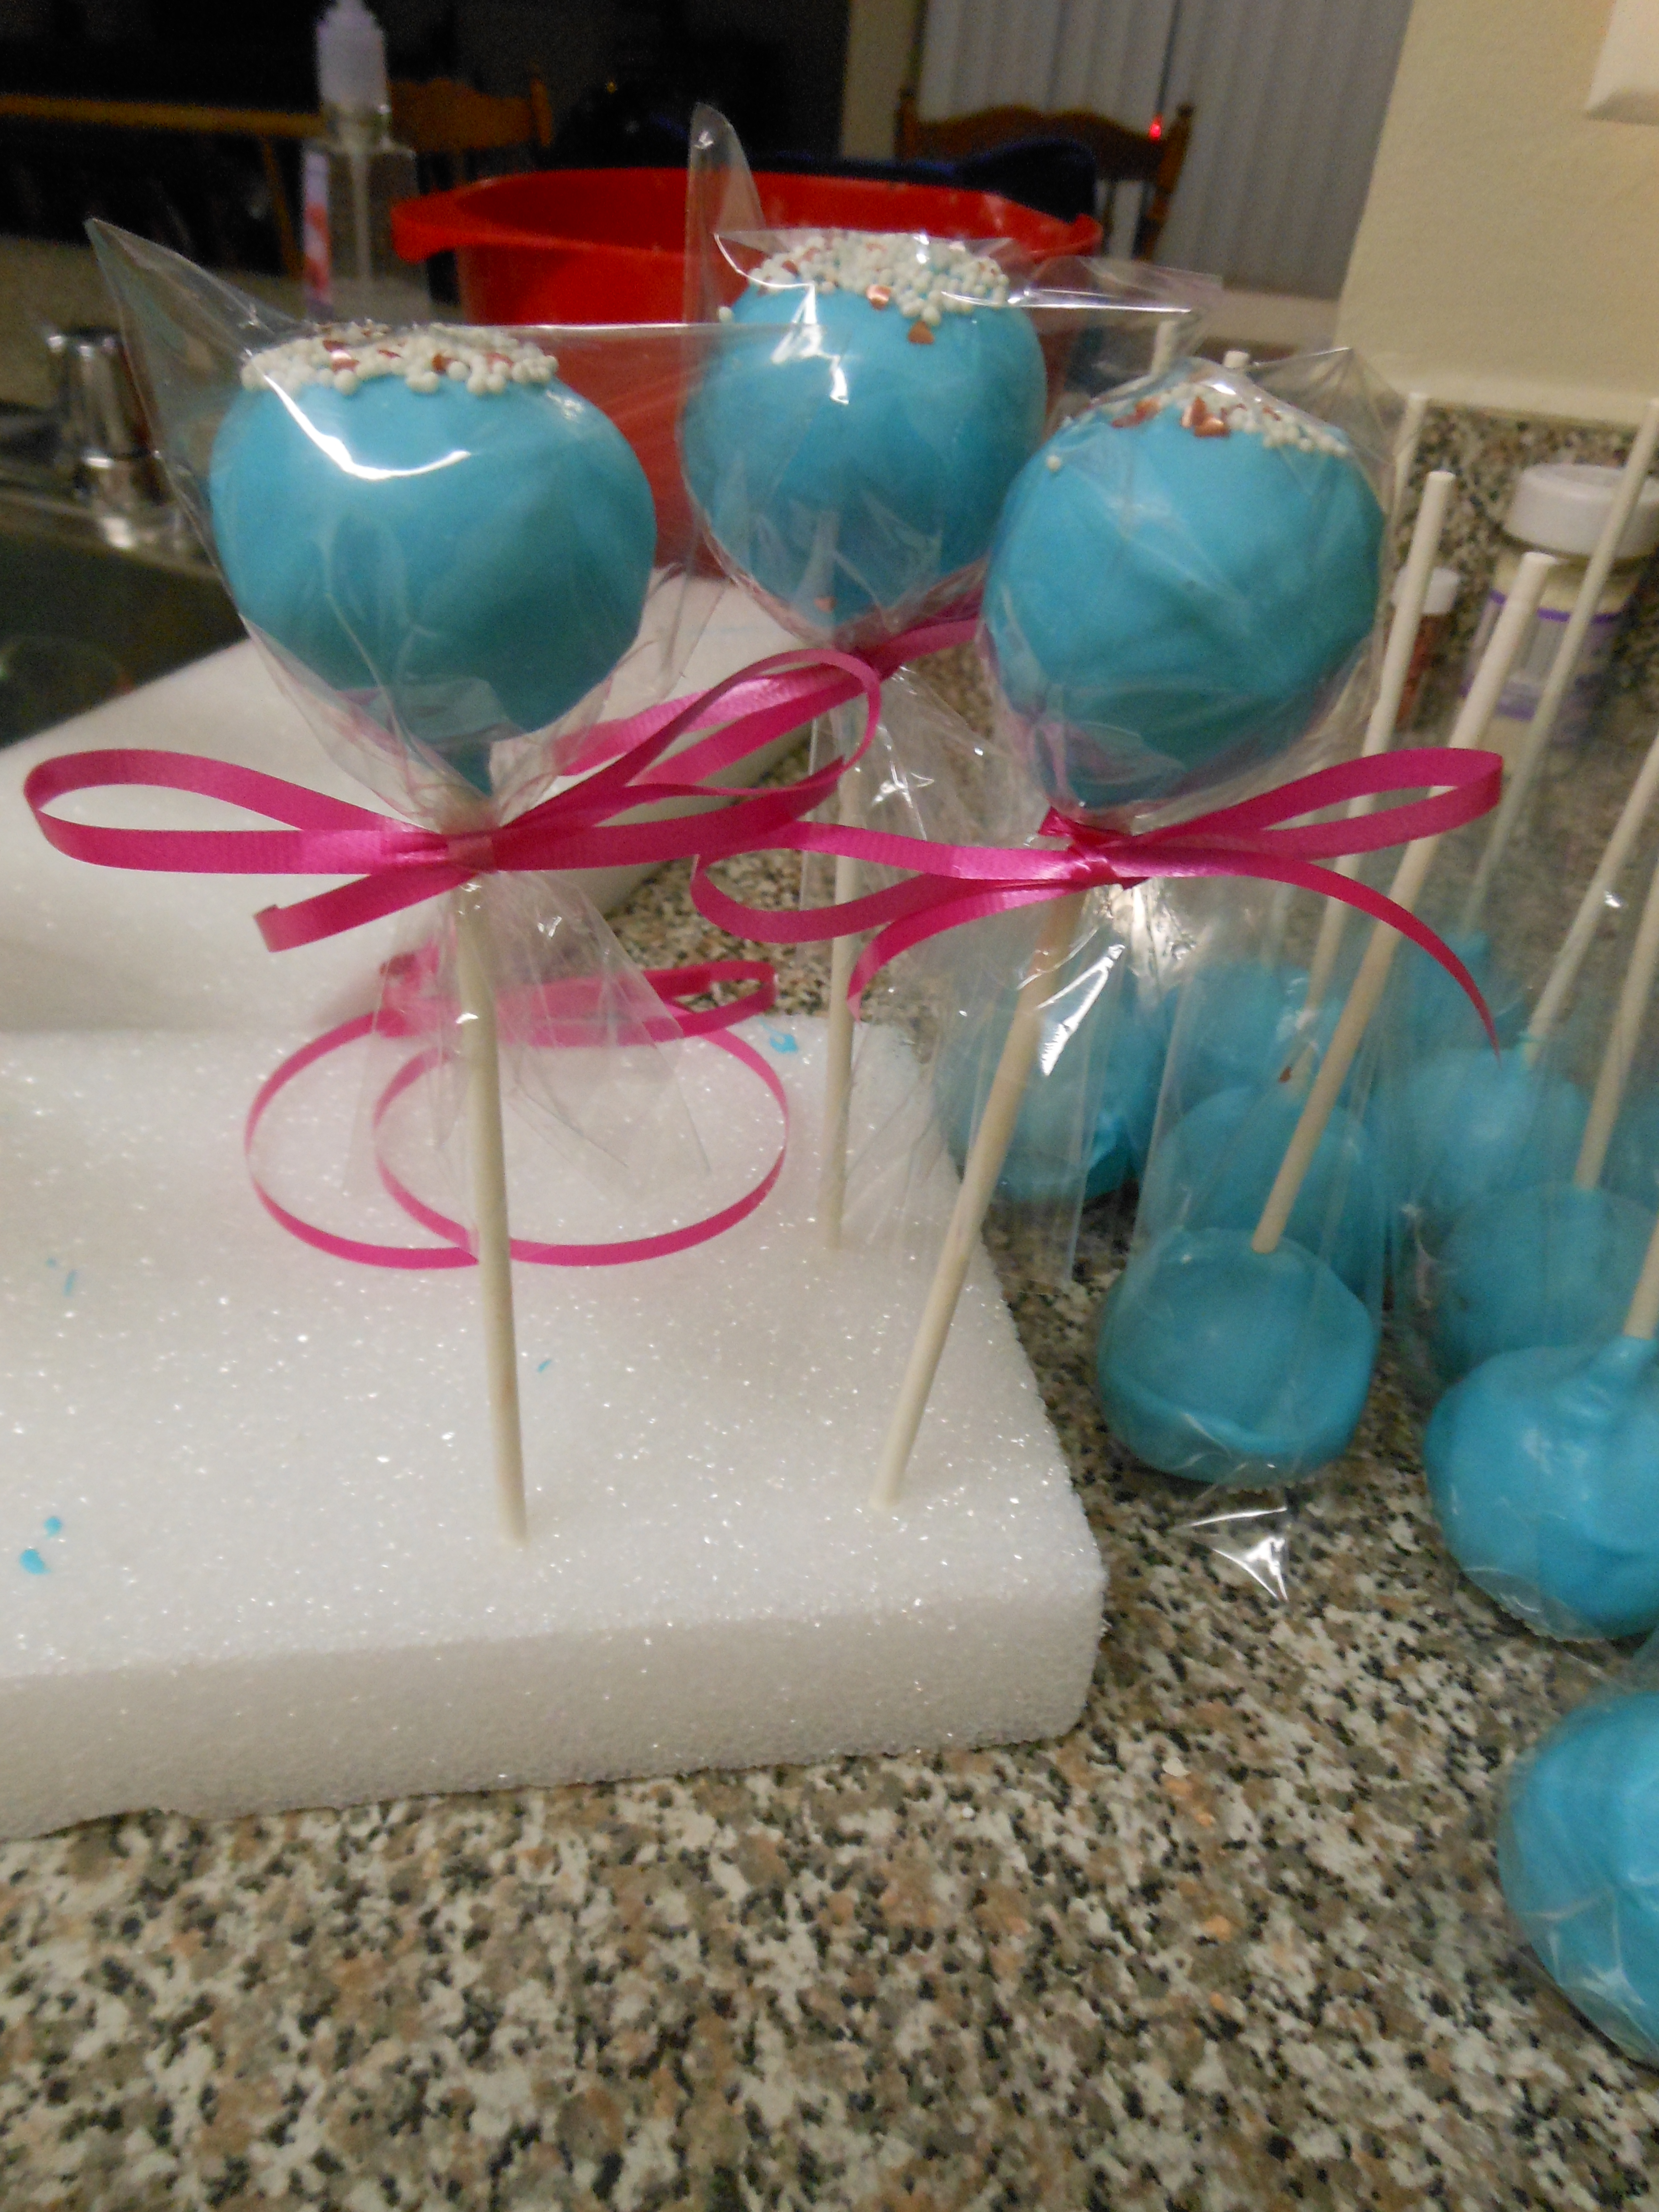
I loved my decorative sprinkles, especially the edible glitter hearts! Very festive!

I loved the final product! I put them in little bags (found the smallest bags possible and put one cake pop in each) and tied a pink ribbon around it to keep it closed.


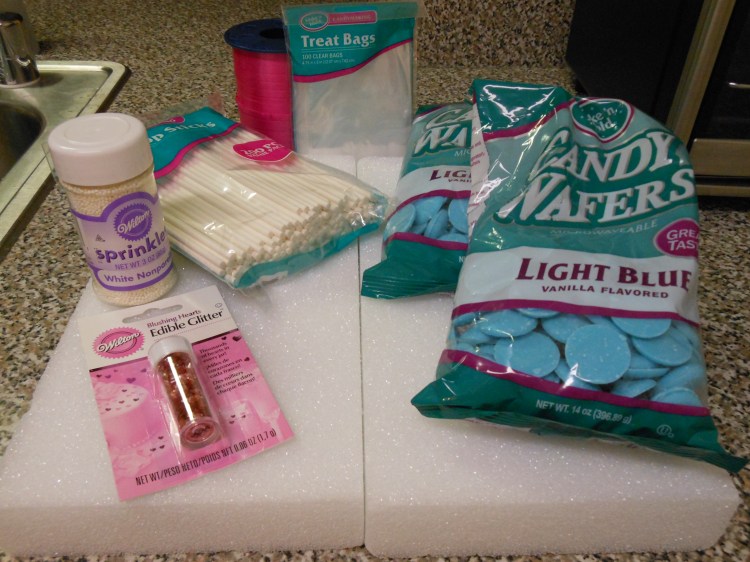
Most needed supplies:
- Your choice Cake mix
- Your choice Frosting
- Your choice color of candy wafers (I found these at the craft store A. C. Moore)
- Foam board (found in the craft section)
- Cake Pop sticks

I’ve always wondered how to do this. I’m going to re-blog this. Cheers and Happy Valentine’s Day.
Thank you for re-blogging my post! I really appreciate it and glad it helped! Happy V-day!
I received a lot of positive response on this cake pops post!! 🙂
Yay! I’m so glad! Thanks again for sharing and passing on the success! I really appreciate it 🙂
I’m still getting responses on those cake pops! 🙂
Love it! Have you had a chance to make them yet?
Not yet. I have the stuff. Now just need to make time in my schedule for the actual baking part!! 🙂
Oh awesome! What flavor and colors did you choose?
chocolate for the time being! Haven’t decided on colors yet 🙂
would love to see pictures when you do it!
I will keep you posted for sure!
Reblogged this on SpeakGossip.